How to take a screenshot on Mac with SnipIt
Capture the whole display or exactly the area you need, then copy, save, annotate, or share it.
SnipIt lives in the macOS menu bar, so it stays ready without keeping a large window open. For a first capture, decide whether you need the whole display or only one part of it.
macOS must allow SnipIt under System Settings → Privacy & Security → Screen & System Audio Recording. SnipIt will guide you there if access is missing.
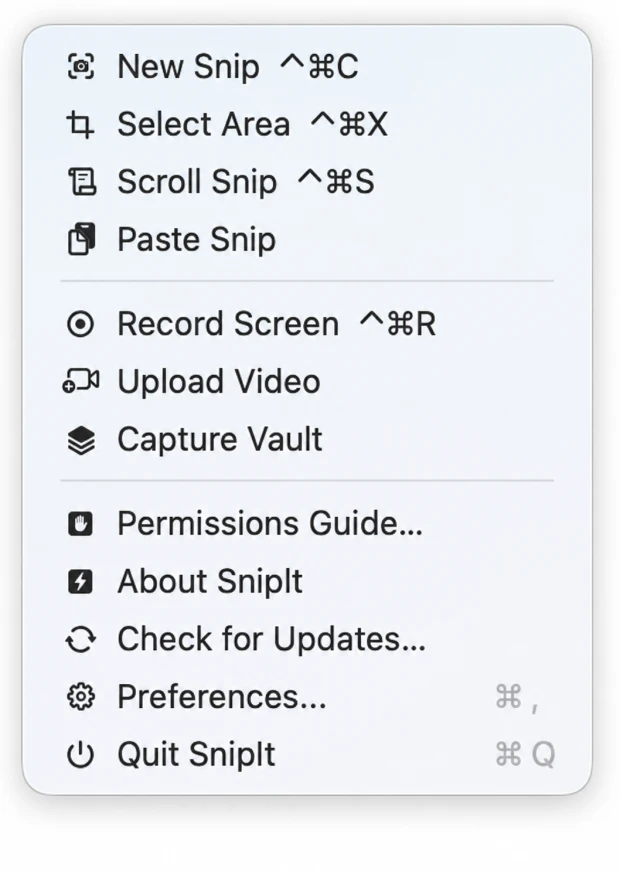
Choose a capture mode
New Snip
Capture the full display when the entire screen provides useful context.
⌘ ⌃ CSelect Area
Drag around a precise region when you want a cleaner, more focused image.
⌘ ⌃ XScroll Snip
Capture content that continues below the visible window as one tall image.
⌘ ⌃ SPaste Snip
Open an image already on your clipboard directly in SnipIt’s editor.
Take your first snip
Open the SnipIt menu
Choose the SnipIt icon in the macOS menu bar. Select New Snip or Select Area. You can use the shortcuts above from any app.
Frame the useful information
For Select Area, drag from one corner of the content to the opposite corner. Include enough context to make the screenshot understandable, but leave out unrelated windows and private information.
Choose what happens next
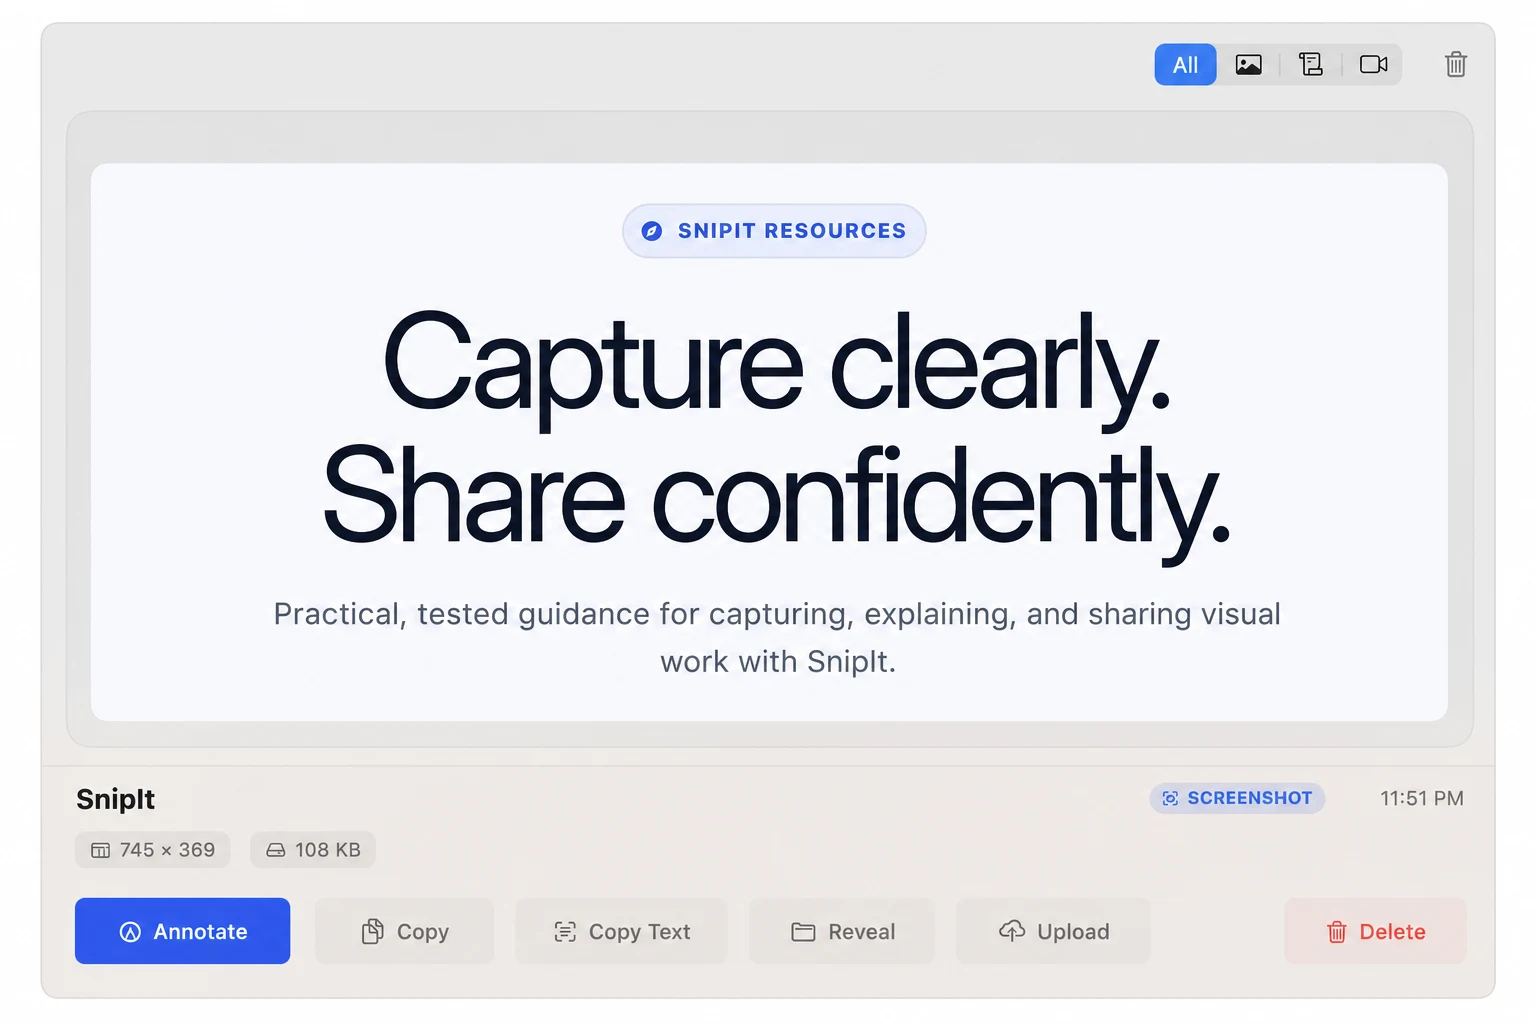
Quick Access appears with Copy, Save, and Annotate. Signed-in users can also Upload; otherwise the fourth action opens sign-in. Your capture is kept in Capture Vault for later.
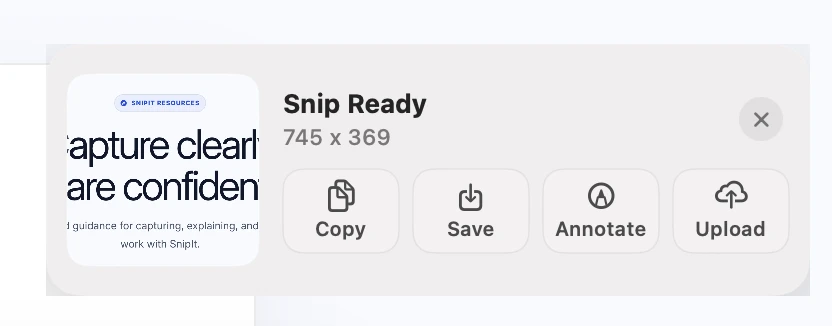
Which Quick Access action should you use?
- Copy when you want to paste the image into a message, ticket, or document.
- Save when you need a file on your Mac.
- Annotate when the image needs arrows, text, steps, highlighting, cropping, blur, or pixelation.
- Upload when you are signed in and want a shareable SnipIt link.
If capturing does not start
Open the SnipIt permissions guide and confirm the SnipIt switch is enabled for Screen & System Audio Recording. If you changed a permission while SnipIt was open, quit and reopen the app once.
If a shortcut belongs to another app, open SnipIt Preferences → General → Keyboard Shortcuts and choose a different combination. The menu always shows your current shortcuts.
Make the screenshot explain itself
Next, learn how to annotate the capture without cluttering it.